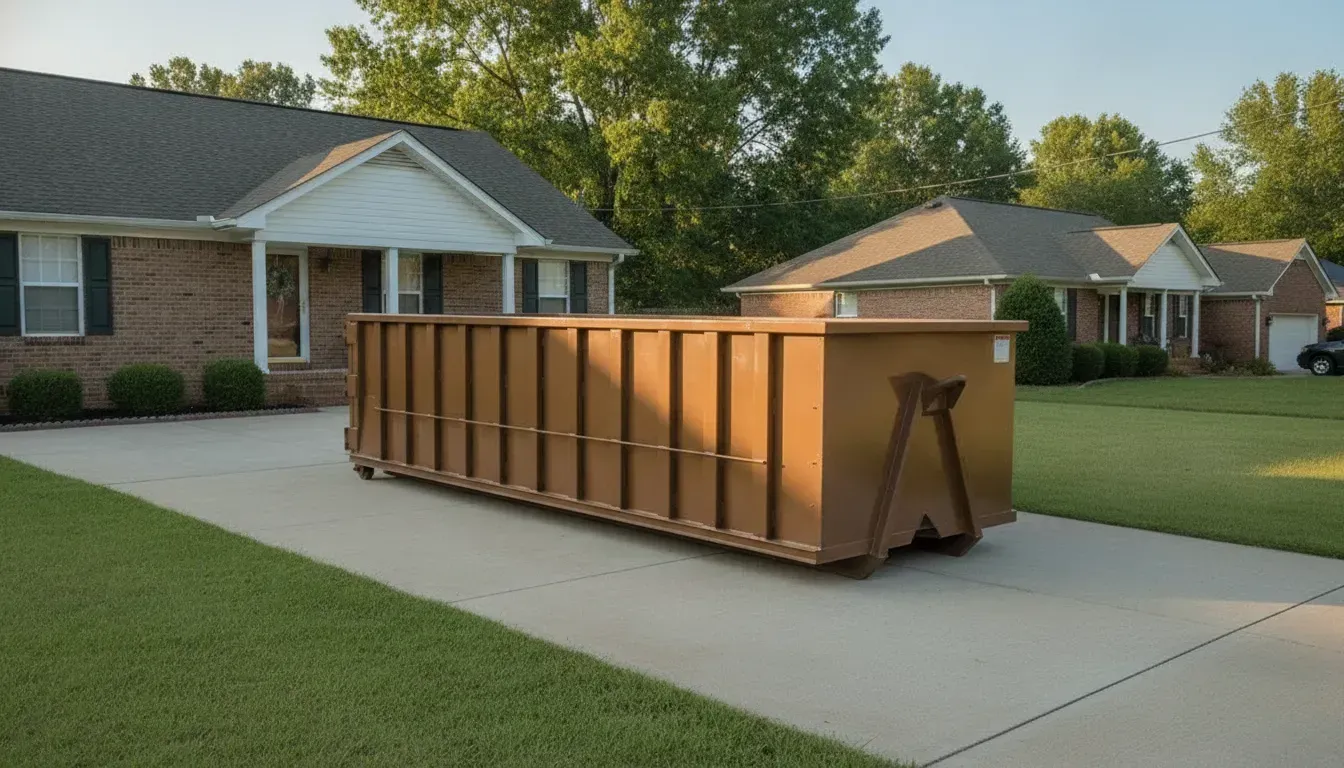
Dumpster Rental for Disaster Cleanup: A Safe Debris-Removal Plan
Plan disaster debris removal with a dumpster rental. Learn how to sort ordinary debris, check local rules, prepare placement, and coordinate access safely.

After a storm, fire, or other disaster, cleanup can feel urgent. A little planning helps protect people, property, and disposal decisions. A dumpster rental for disaster cleanup can collect ordinary debris from a home project, but it is not right for every material or situation. First identify what is safe to move, check local requirements, and plan where a container can sit.
What should you do before cleanup begins?
Make sure the property is safe to enter and work in. Follow directions from emergency responders, utilities, insurers, and qualified restoration professionals. Do not enter unstable areas or begin moving debris if there are damaged structures, downed electrical lines, gas concerns, standing water near electrical equipment, or other hazards. Ask the appropriate professional or local authority what must happen before cleanup starts.
Once access is cleared, walk the work area without disturbing debris. Note which rooms or outdoor areas need attention, what can be carried safely, and what should be left alone until an expert reviews it. Keep children, pets, and visitors away from the work zone. Set aside a clear route for workers and equipment.
- Confirm that the affected area is safe to enter.
- Identify debris you can confidently classify as ordinary household or project material.
- Leave uncertain, regulated, or potentially hazardous items untouched and ask for professional guidance.
- Choose a staging area that does not block emergency access, doors, or utilities.
Think of the first walk-through as planning, not as a race to start carrying. Make a simple map or list of affected zones. Mark which areas have been cleared for ordinary cleanup, which need a restoration professional's review, and where belongings should remain for inspection. This prevents a helper from treating every damaged item as ready for disposal. If responders or utilities have restricted access, respect those limits and wait for clearance.
How should you separate debris?
Do not treat everything left behind by a disaster as one waste stream. Separate ordinary, clearly identifiable debris from items that may require special handling or disposal. Local rules, the type of event, and the material itself affect what is accepted. If you are unsure whether an item belongs in a rental container, pause and ask the local waste authority or a qualified environmental or restoration professional.
Make distinct piles or marked staging areas for ordinary debris, reusable belongings, and items awaiting guidance. Keep materials from blocking access or creating trip hazards. Avoid mixing unknown liquids, containers, building materials, or damaged equipment into the ordinary-debris pile. Do not open, break apart, or inspect suspicious containers to identify their contents.
Material group · Practical next step · Before loading
Material group: Clearly ordinary household or renovation debrisPractical next step: Stage separately for possible container loadingBefore loading: Confirm acceptance and load evenly
Material group: Items that may be reusable or needed for an insurance recordPractical next step: Keep separate from disposal debrisBefore loading: Ask the insurer before discarding
Material group: Unknown or potentially hazardous materialPractical next step: Do not handle or loadBefore loading: Seek qualified guidance
Material group: Material with uncertain local rulesPractical next step: Keep isolated while checkingBefore loading: Confirm the approved route first
A dumpster is for accepted material, not for making a difficult disposal decision disappear. The container provider may not be able to determine whether a substance is hazardous or requires specialized disposal. When in doubt, keep it out until the appropriate authority gives clear direction.
A practical sorting method is to make three categories before anyone carries items: ordinary debris that is clearly identified; belongings that may be saved, documented, or reviewed; and anything uncertain. Use separate areas, containers, or labels that helpers can understand. Do not put the second and third categories beside the dumpster in a way that invites accidental loading. If several people are helping, tell everyone the same rule: only the clearly identified, accepted material goes toward the roll-off.
For example, a household might have wet furniture, a fallen fence section, and sealed containers found in a damaged storage area. Those items should not all receive the same decision simply because they were affected by one event. Ask the provider about the fence material and furniture acceptance, follow insurer or restoration direction about belongings, and leave unknown containers alone while seeking professional advice. This keeps the disposal choice tied to the material rather than the disaster label.
Which local disposal rules should you check?
Disposal requirements vary by community and material. Before loading, contact the local solid-waste or emergency-management authority, or consult official local guidance for the property. Ask whether the material needs separate collection, a designated drop-off, special packaging, or an approved contractor. Confirm the current rule for the specific material rather than relying on a neighbor's experience or a general list.
When asking, describe the material as accurately as you can from a safe distance. Identify its general type, approximate amount, condition, and where it came from, without disturbing it to get a better look. Ask which department or qualified professional has authority to give direction, whether the answer applies to your address, and whether any documentation is needed. Write down the date, contact, and instructions so that other household members can follow the same plan.
Ask your insurer or restoration contractor whether damaged items should be documented or retained before disposal. Photographing the affected area and keeping records may be useful for a claim, but follow your insurer's instructions. Do not discard items that may be needed for an inspection until you have asked.
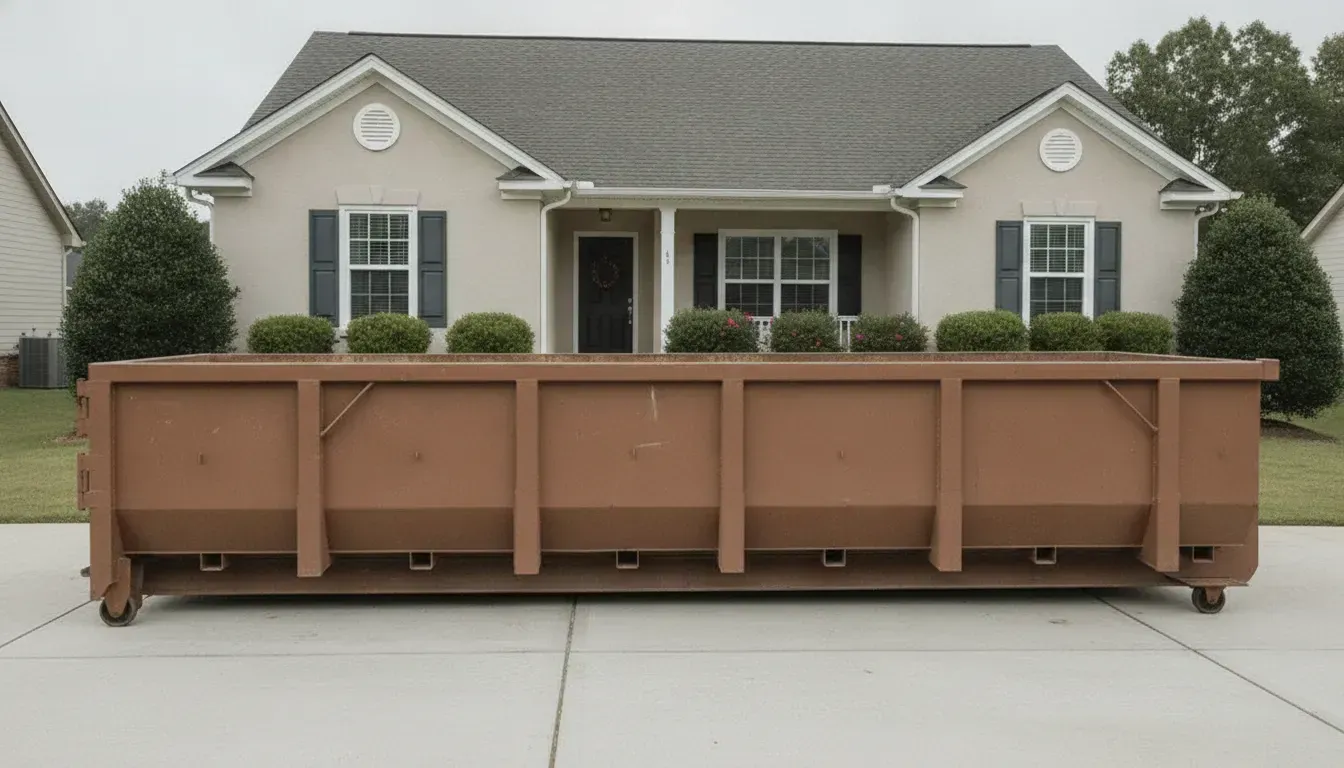
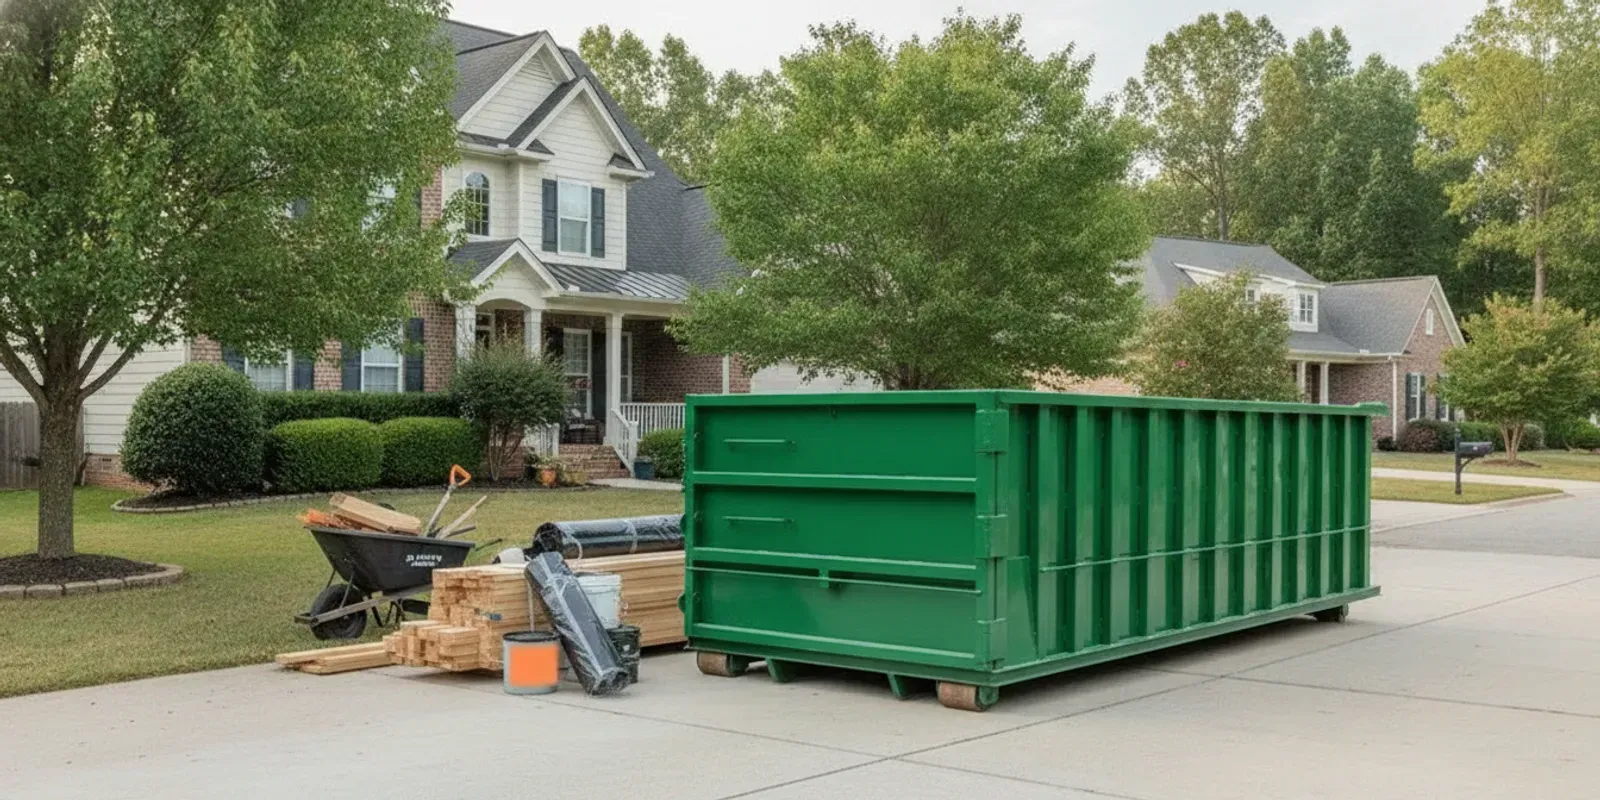
Before arranging service, check the rental provider's accepted-material terms. Rapid Removal Dumpster provides a customer-loaded 15-yard roll-off for projects such as renovations, moves, and cleanouts. Its FAQ covers general rental questions, but local authorities remain the source for disposal rules that apply to your property. State what debris you expect when you contact the company; do not assume a material is accepted just because it fits physically into the container.
How can you prepare the driveway and placement area?
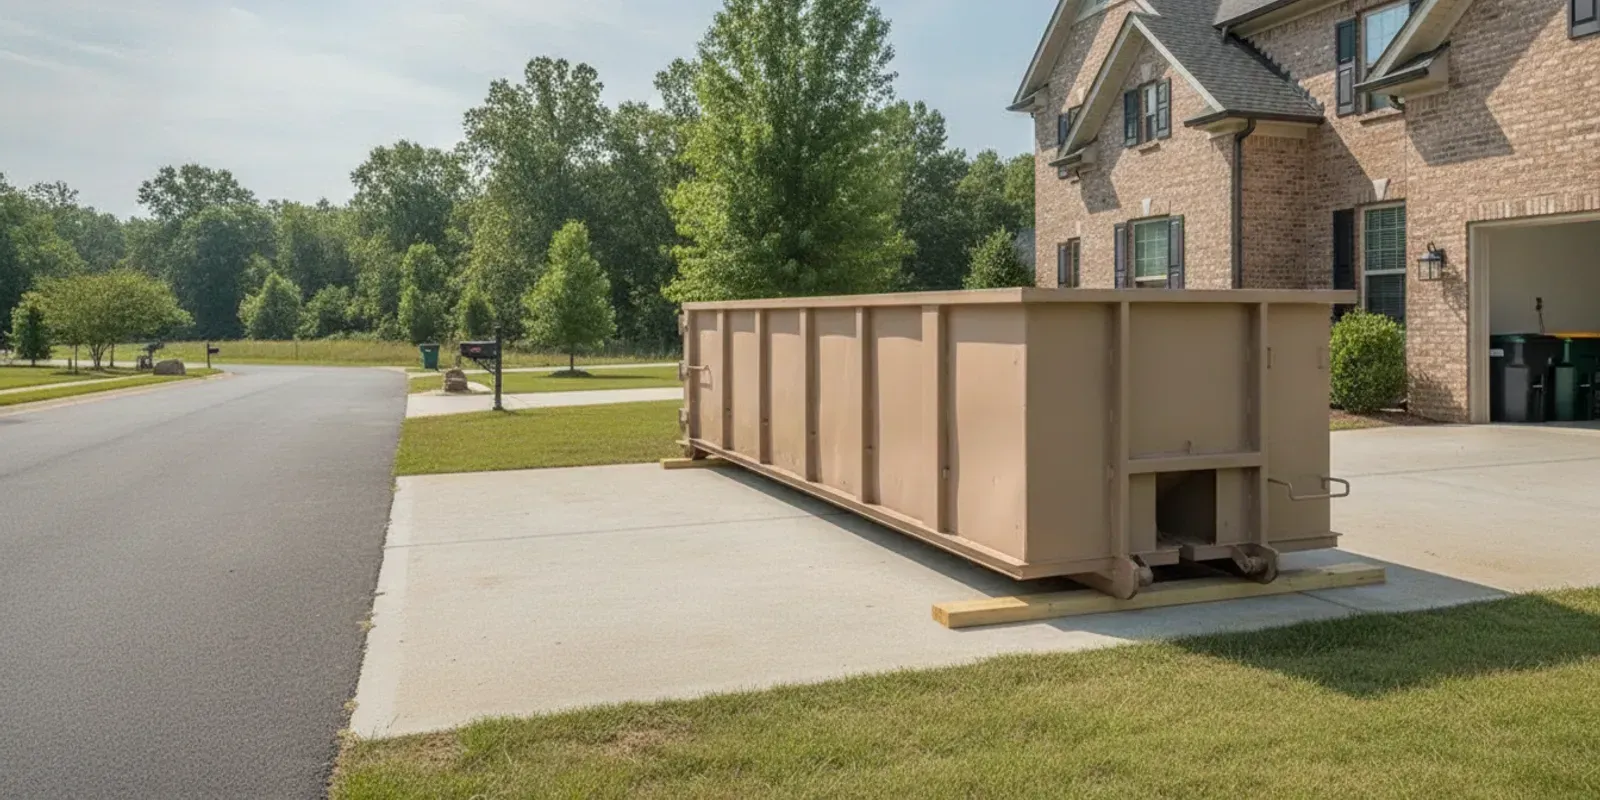
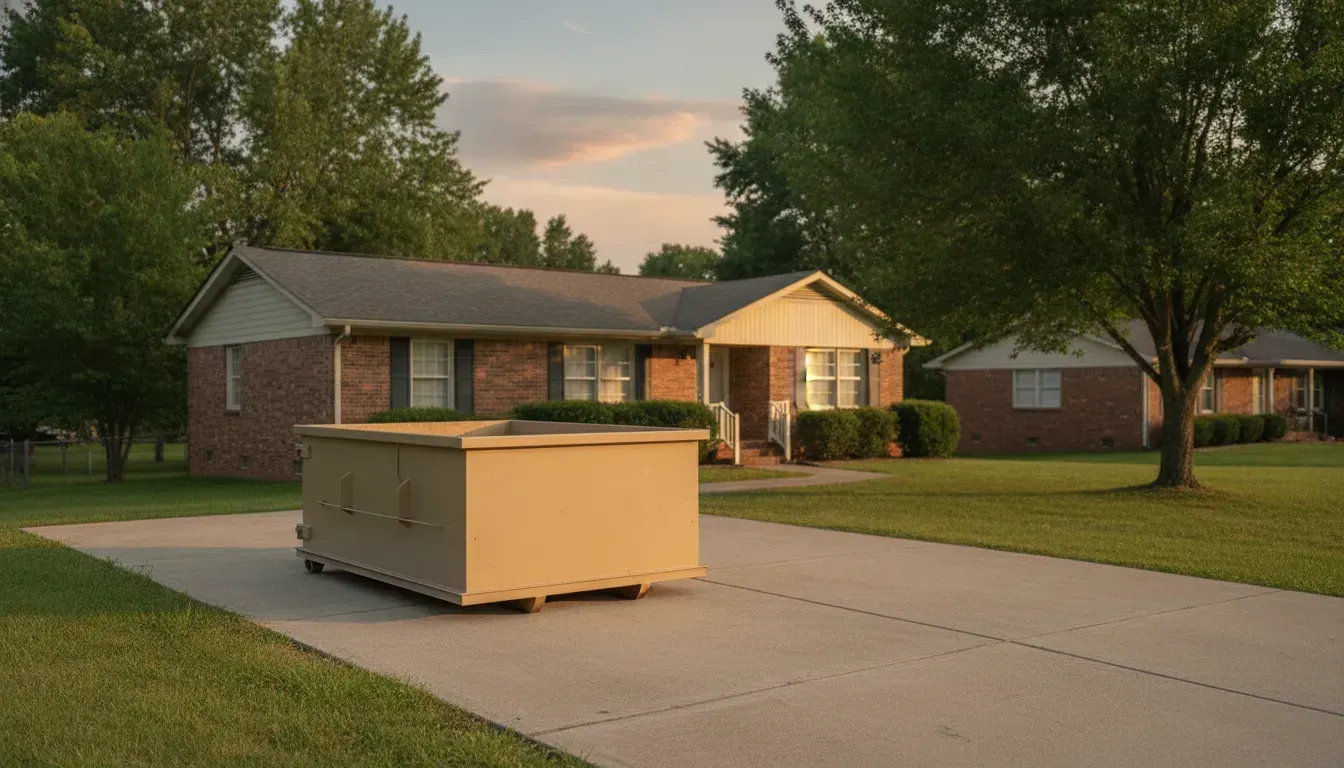
Choose a stable, accessible spot with enough room for delivery and pickup. A driveway may be convenient, but its condition, slope, width, overhead clearance, and proximity to structures matter. Look for low branches, wires, narrow turns, soft ground, drains, and anything that may obstruct the truck or container. Do not assume that a placement is suitable just because a vehicle can park there.
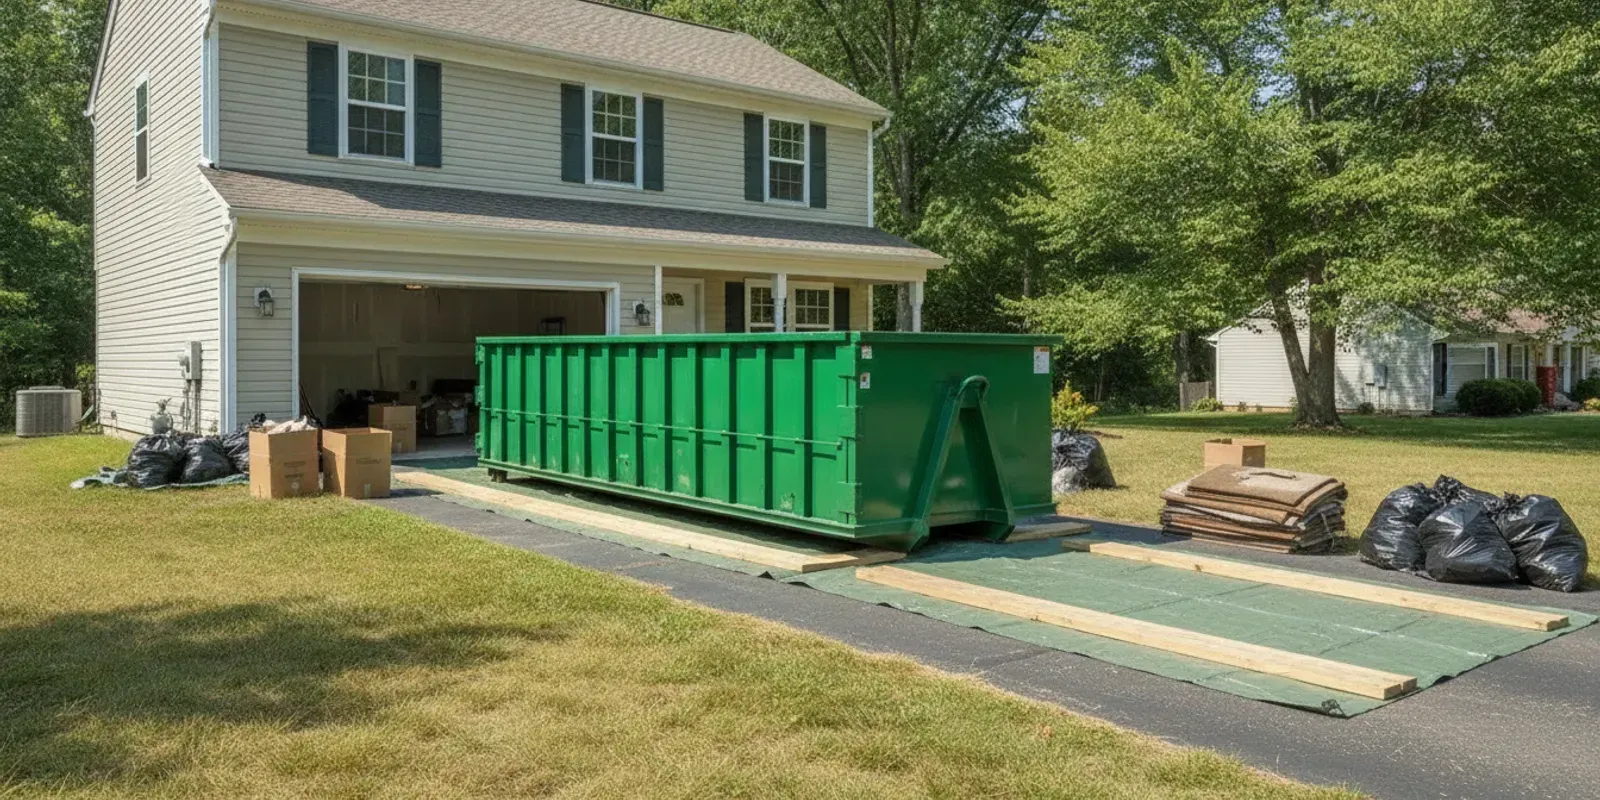
Share site details when requesting service, including surface type, slope, access width, and overhead obstacles. Ask where the container can be positioned and whether protective planks may be used. Rapid Removal Dumpster describes using protection planks when needed; this is a placement practice, not a promise that a driveway cannot be marked or damaged. See the company's driveway placement information.
- Move vehicles and stored items out of the delivery path.
- Keep gates unlocked and confirm access instructions.
- Tell the provider about soft, cracked, sloped, or recently repaired surfaces.
- Check overhead space and ensure the truck can approach and leave safely.
- Keep people away from the delivery area during placement.
Before delivery, inspect the intended area and note existing cracks or surface concerns. Share relevant details with the provider instead of assuming a standard placement works for every driveway. A driveway with a steep slope, soft shoulder, tight turn, or overhead obstruction may call for a different location or further discussion. Ask about protection planks when needed, and understand that using them does not create a written surface-damage warranty.
If the driveway is not a good fit, ask about another location on the property. Do not direct a truck onto a public road, sidewalk, or shared area without checking permission and applicable rules. If the home is in an association or a managed community, check its placement and access rules early. A location that seems convenient may conflict with a shared drive, emergency path, or scheduled repair work.
How do you coordinate access after a disaster?
Disaster areas may have road closures, utility work, restricted entry, or a crowded response site. Before scheduling, confirm that the delivery vehicle can reach the property and that the placement area will be open. Coordinate with responders and restoration crews so delivery does not interfere with urgent work.
Tell the provider about gate codes, narrow approaches, temporary barriers, parking limits, and changes to the site. Make sure someone can provide access or clear instructions. If conditions change, update the provider before delivery. If the route is controlled by an authority or a property manager, confirm the rules with them rather than asking a driver to work around a restriction.
The site lists same-day service options, but availability should be confirmed directly. A web request is not an instant booking. Use the contact page to ask about access and timing, or submit the service request form. In an active response area, tell the company about closures or special instructions before choosing a delivery time.
Build a short access checklist for the day of delivery. Confirm that the route is open, vehicles are moved, the proposed spot is clear, and the person who can answer questions is reachable. Check whether crews need the same driveway or staging area that day. If restoration work has priority, reschedule rather than letting the container block a contractor's work or an emergency route. After delivery, preserve a clear approach for pickup as well as loading.
What rental period and container size fit the cleanup?
Rapid Removal Dumpster offers a 15-yard roll-off. Published rates are $349 for one day, $375 for three days, and $399 for seven days, with no delivery fee stated on the site. Disaster cleanup may depend on inspections, contractor work, access, and local disposal decisions. Confirm terms and current availability before choosing a duration.
Estimate ordinary debris only after separating out anything requiring another disposal route. The 15-yard container is described for smaller home projects, renovations, landscaping, and cleanouts. If you expect bulky or unusually heavy debris, discuss the materials in advance rather than assuming everything will fit or be accepted. The dumpster size guide can help frame that conversation.
Published period · Published price · Planning question
Published period: 1 dayPublished price: $349Planning question: Can sorting and loading be completed in one day?
Published period: 3 daysPublished price: $375Planning question: Do you need several safe work sessions?
Published period: 7 daysPublished price: $399Planning question: Will inspections or access coordination extend the cleanup?
These are published prices, not a substitute for confirming rental details for your address and project. Ask about the included period, accepted materials, and pickup coordination. Do not book a short period just because the physical loading seems quick; waiting for clearance, sorting belongings, or coordinating access can take longer than the loading itself.
To make a reasonable duration estimate, list the zones already cleared for work and the amount of ordinary debris expected from each. Then add the practical constraints: the number of available helpers, permitted work hours, whether loading can happen continuously, and whether the site may need to stay open for restoration crews. A small pile may still require more than one session if materials must be identified or moved around other work. Conversely, a straightforward cleanout of material already sorted and approved may be easier to schedule tightly.
Use the published one-, three-, and seven-day options as comparison points, not a guarantee about which duration is best. The difference between one and three days may be worthwhile if it allows work to proceed in separate safe sessions. A longer period can provide coordination room, but it does not make restricted materials acceptable or guarantee availability. Ask what the rental period includes and how to coordinate pickup if the cleanup plan changes.
How can you organize loading safely?
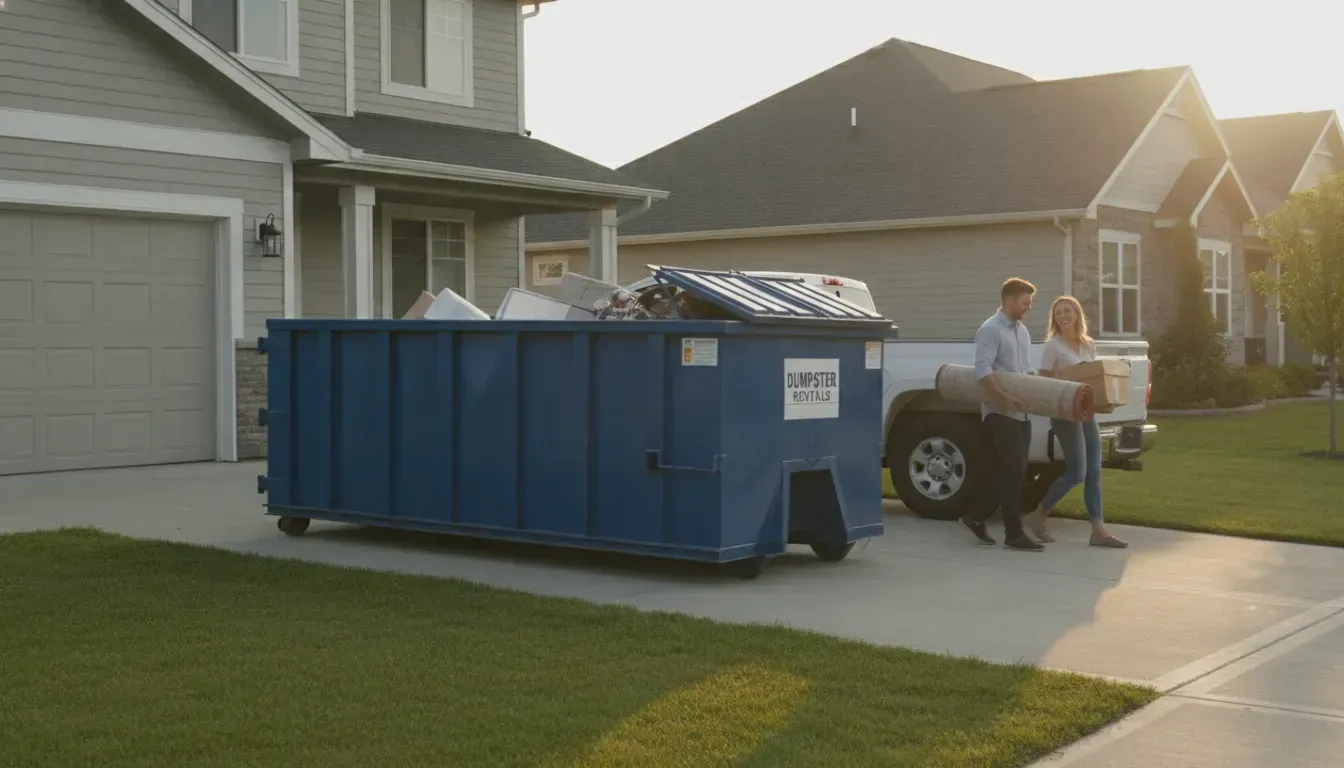
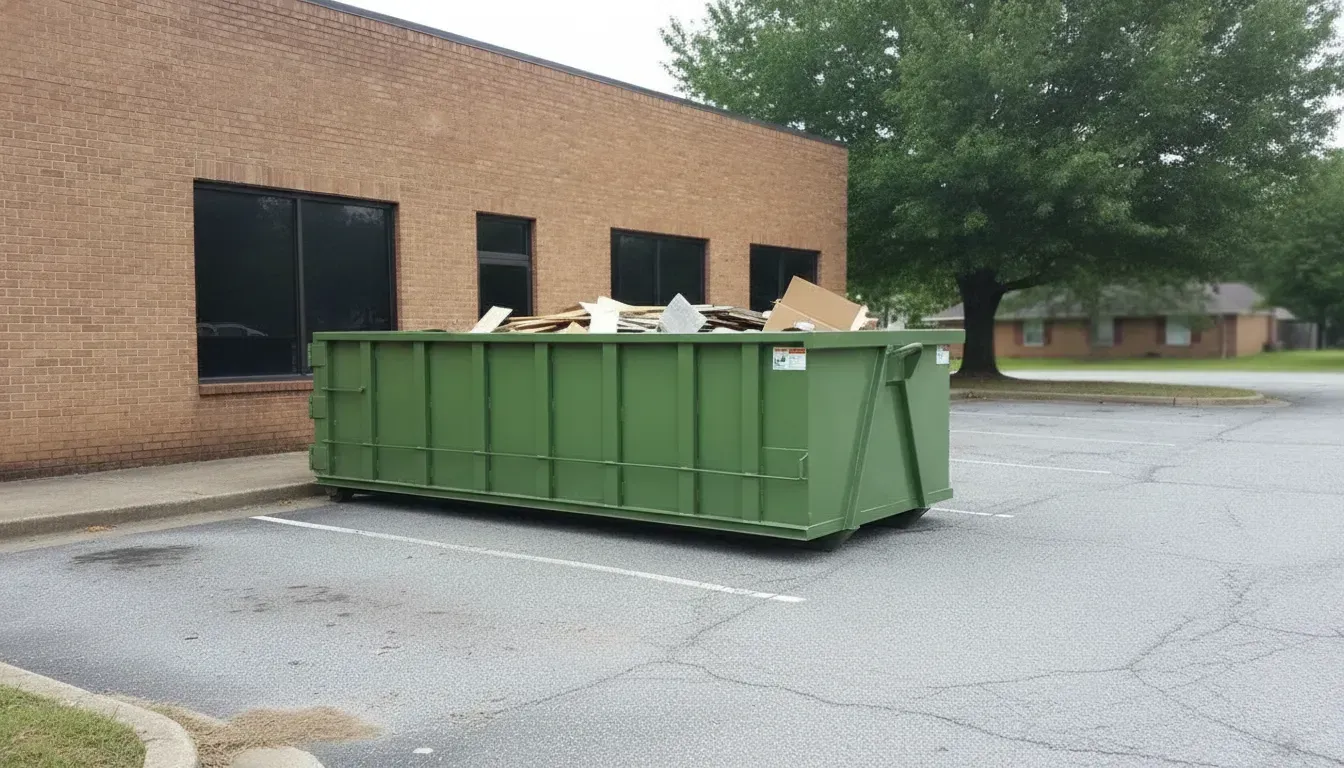
Load only material you have confirmed is acceptable. Keep the work area orderly, use a clear route, and avoid carrying loads beyond what you can manage safely. Follow professional advice for structural demolition or damaged building components. Do not climb into the dumpster or compact debris by jumping on it. Spread accepted items evenly and keep the load within the container's sides.
Work in phases: clear one approved area, pause to reassess access and sorting, then continue. Keep salvaged belongings and items awaiting insurance review away from disposal debris. If an uncertain item is uncovered, stop and seek guidance instead of tossing it in to save time.
Think about the whole path, not just the container. A clear, stable route helps prevent debris from being carried through occupied areas or left where people walk. Keep tools, bags, and staged items out of exits and emergency access. If the route becomes blocked or the cleanup area changes, pause and reset it before continuing. Keep children, pets, and visitors away while loading is underway.
Do not overload or heap material above the container's sides. Distribute accepted debris rather than concentrating it in one spot. If an item is awkward, heavy, or difficult to place safely, do not force it into the container. Ask the provider about the item and follow appropriate professional guidance. An orderly load also makes it easier to notice if an unapproved or uncertain item has been placed by mistake.
How can you build a manageable cleanup sequence?
Divide work into zones, such as the garage, one room, or a section of yard. For each zone, note ordinary debris, belongings that may be saved, and anything an expert must identify. Keep those categories apart. Do not start another zone if the access route or staging area is crowded.
Before each work session, confirm the area remains safe and planned tasks do not conflict with restoration work or inspections. Afterward, clear walkways and update the list of remaining tasks. A shared note helps family members, contractors, and property representatives track which areas were reviewed and which decisions are pending.
- Confirm access: check that qualified professionals have cleared the area for the planned work.
- Protect records: identify items to photograph, retain, or review before disposal.
- Sort known material: stage ordinary debris separately and leave uncertain items alone.
- Check disposal: confirm acceptance with the provider and applicable local authority.
- Load in batches: keep the route clear and pause if a new question arises.
This order matters because loading is difficult to reverse. Uncertain material buried under other debris can be harder to identify and may complicate pickup. Sorting first also keeps useful belongings and claim-related items out of the waste pile. Contact the provider if the schedule or scope changes.
A simple zone sheet can keep several helpers aligned. For each area, record its status as not reviewed, awaiting professional direction, cleared for sorting, or finished. Note who made the decision and what material was approved for loading. Avoid using a vague label such as “clean” if it could mean either inspected or simply cleared of visible debris. Clear status wording reduces repeat work and helps prevent someone from moving an item that is still under review.
For a garage, for instance, first confirm that the area is safe and that any inspection requirements have been addressed. Keep belongings to retain on one side and clearly identified ordinary debris in a separate staging spot. Leave unfamiliar containers or damaged equipment untouched. Once the approved debris is removed, reassess the remaining material before moving on. The same sequence works for a room, attic, yard, or outbuilding, but the material and safety questions may differ.
How should you plan for different kinds of disaster debris?
The event itself does not determine what belongs in a dumpster. Material, condition, local rules, and provider acceptance terms all matter. Storm cleanup may include branches alongside damaged equipment or containers. Fire may leave building debris and items that restoration professionals should review. Water intrusion may affect furniture, but the right next step depends on the source and condition. Do not assume an item is suitable for ordinary disposal because it looks familiar.
Use this as a planning framework, not a universal acceptance list:
- Clearly identified ordinary items: describe them to the provider and ask if accepted before loading.
- Large or bulky pieces: explain their size and material so the provider can discuss fit and pickup.
- Items tied to a claim: ask the insurer or restoration professional before discarding.
- Unknown or suspect material: do not handle or load it; seek qualified guidance.
When speaking with a local waste authority, describe what you can observe from a safe distance without disturbing the material. Ask which office or qualified professional can advise you, and record the guidance. If the answer is unclear, do not treat a guess as permission to dispose of the item in the rental container.
It can help to keep separate decisions for three questions: Is the area safe to enter? Is the item appropriate for ordinary handling? Is the item accepted in this particular container and under local rules? A positive answer to one does not answer the other two. For example, a cleared room can still contain something that needs special disposal, and a material accepted by a provider may still need insurer review before it is discarded. Confirm each question with the right person.
What if the cleanup scope changes after delivery?
Disaster work changes as rooms are cleared, inspections take place, or access shifts. The container may no longer match the amount or type of material found. Pause before changing the loading plan. Reassess remaining zones, set aside new material for identification, and contact the provider about capacity, accepted contents, and pickup. Do not overload the container or assume a different debris type is acceptable.
A contractor may need the driveway, a road may close, or the route may become blocked. Keep the container area clear and tell the provider if an obstruction affects delivery or pickup. Do not try to reposition the container yourself. Discuss changes directly.
For example, a homeowner schedules a short rental for branches and identified household debris, then discovers a section of the structure needs professional assessment. Stop work in that area, keep the material apart, and ask the restoration professional what to do. Continue only in areas cleared for safe handling, and check whether the rental period still fits.
Another change may be more material than expected. Before filling the remaining space, describe the newly uncovered items and their quantity to the provider. Ask whether they are accepted and whether the container is suitable for the project. If the volume exceeds the original plan, discuss the available next step; do not place debris beyond the sides or try to make a load fit by unsafe compaction. Keep the contact and pickup details handy so a change can be addressed while there is still time to adjust.
How can you keep the container area orderly?
Choose a staging location with a direct, uncluttered path from the approved work area to the container. Do not block doors, garage access, utility equipment, emergency routes, or neighbors' access. Keep ordinary debris in a controlled staging area. If weather, foot traffic, or response work makes that area unsuitable, pause rather than creating a loose pile in a travel path.
Tell everyone which areas are off limits and where materials awaiting review are kept. A temporary boundary may help if it does not obstruct responders or create another hazard. Keep children, pets, and visitors out of the work zone and delivery path. If an association or property manager has rules about visible equipment or shared access, check before scheduling.
For a narrow driveway, walk the route from the street to the proposed spot and note turns, parked vehicles, branches, gates, and overhead obstacles. Share observations with the provider. Do not assume a location will work based on a photograph alone; the provider needs accurate site information to discuss truck access.
Keep a modest staging footprint and move accepted debris to the container in planned batches. A large pile may block access, create a trip hazard, or interfere with restoration work. If other people live nearby, explain where the work zone begins and which route remains open. This is especially useful when a delivery is unattended or when several helpers arrive at different times. Leave the placement area accessible for pickup rather than filling the route with tools, vehicles, or loose material.
How do you match the rental period to the work plan?
Estimate duration from the work sequence, not just the first debris pile. Consider property access, safe work sessions, inspections, and whether loading would interfere with restoration. If several people are helping, agree on work windows. If one person is sorting and loading, allow time for breaks and questions about unfamiliar material.
A one-day period may suit a short, straightforward cleanout of previously identified ordinary debris. Several rooms or separate work sessions may call for a longer published period. Seven days provides more time for coordination, but does not solve access delays or disposal questions. Compare the options with the actual schedule and confirm pickup arrangements.
Keep the schedule flexible for decisions that should not be rushed. If an item may need inspection, waiting for direction matters more than filling the container on a preferred timetable. The customer-loaded rental is a tool for ordinary debris; it does not replace emergency response, restoration, or specialized disposal services.
A sample planning exercise can make the choice clearer. Suppose one area has been cleared, the material is identified and accepted, and helpers can work during one planned window. A short period may be a reasonable option to discuss. If a restoration visit must happen first, another room remains under review, or helpers can only work on separate days, compare the longer published periods and confirm the terms. The point is not to predict every delay. It is to avoid treating all cleanup as a single uninterrupted loading session.
What information helps a service request go smoothly?
Include the service address, cleanup description, ordinary debris expected, preferred rental period, and proposed placement area. Mention surface condition, access width, overhead obstacles, gates, parking restrictions, and road limitations. If materials are not classified, say so and ask what the provider needs before confirming service.
Identify someone who can answer delivery-day questions and knows the proposed placement and access route. Share updates if the route changes or a professional says work must pause. A request form starts a conversation; it does not confirm a date, material, or placement.
Rapid Removal Dumpster serves Rutherford County and surrounding areas; confirm eligibility for your address. Its About page provides company background, and the contact page is available for questions about access and timing. The company offers a customer-loaded 15-yard roll-off, so include a clear description of the work rather than assuming a crew will sort or remove items from the property.
Before sending the request, gather a few practical details: the address and best contact person, the expected rental period, the type and approximate amount of known ordinary debris, and the placement surface. Add a short note about the driveway approach, gates, overhead clearance, and any access restrictions. Photos may help explain a placement question, but they do not replace accurate information about changing site conditions or local material rules.
If you are still waiting for professional direction on some items, distinguish those from the material you already know is ordinary debris. This lets the provider discuss the rental without implying that every item has been classified. Ask about accepted contents and pickup coordination, then verify that any local disposal questions have been answered by the appropriate authority. Keep timing as a request until the company confirms availability directly.
What should you confirm before requesting service?
Have the address, preferred rental period, project description, and placement details ready. Describe ordinary debris and flag anything not classified. Ask whether the location is within the service area and whether the requested timing is available. The stated area is Rutherford County and surrounding areas, so confirm eligibility.
- Which materials are accepted?
- What placement can accommodate the truck and container?
- Can protection planks be used if needed?
- Which rental period and pickup plan fit?
- Who should be contacted if access changes?
Also confirm that your household or project representative knows what has been approved for loading and what must remain aside. If more than one person is coordinating, share the provider's instructions and the planned placement location. A clear handoff matters when a disaster cleanup involves family, contractors, an insurer, and a property manager. Keep decisions about safety and disposal with the appropriate professionals rather than expecting the rental conversation to answer them.
Frequently asked questions
Can I put all disaster debris in a dumpster?
No. Load only material the provider accepts and local rules allow. Keep unknown or potentially hazardous material out and seek qualified guidance.
Should I throw away damaged belongings right away?
Not necessarily. Ask your insurer or restoration professional whether items should be documented or retained.
Can a roll-off be placed on any driveway?
No. Surface condition, slope, access, and overhead clearance matter. Share details and discuss placement before delivery.
Does a service request guarantee same-day delivery?
No. The company lists same-day options, but timing and availability must be confirmed. A submitted form is a request, not an instant booking.
Plan the cleanup one safe step at a time
Separate ordinary debris from anything uncertain, verify disposal requirements with the right local authority, and prepare a suitable delivery area. Confirm the rental period, access, and placement details before arranging service.