Dumpster Rental for Water Damage Cleanup: What to Remove First
Plan water-damage debris removal after professional decisions are made. Organize approved materials, access, placement, and rental timing with care.

After a qualified professional has assessed the water damage and decisions have been made about what can leave the home, the cleanup becomes a logistics project. A dumpster rental for water damage cleanup can help organize approved debris, but the container is only one part of the plan. You also need a clear removal sequence, a safe route from each room, an agreed placement area, and enough time to load without disrupting repair work.
Request service for your cleanup
What should you remove first?
Begin with the instructions from your inspector, remediation professional, insurer, or other qualified adviser. This article addresses debris logistics after those decisions have been made. It is not guidance for diagnosing contamination, deciding whether a wet material is safe to handle, or performing water remediation. If the professional plan changes, pause removal and ask what should happen next.
Once you have authorization and a removal list, sort decisions into three groups: approved for disposal, keep or document, and not yet decided. Use labels, painter’s tape, or a written room list so everyone helping understands the difference. Do not rely on memory when several rooms are being cleared at once.
- Approved work-area materials: Start with the area the professional plan says must be cleared for repair or drying work.
- Large confirmed discard items: Remove bulky items only after their status is clear. Their size can affect the route and the order of loading.
- Items to keep or document: Place these away from the debris path and any active work zone.
- Undecided belongings: Create a holding area and mark it clearly. Do not allow it to become an overflow debris pile.
- Loose approved debris: Gather it after larger items are moved, while keeping exits and work areas open.
Before a room is emptied, make a quick final check against the list. A helper can read out each approved item while another person checks the room. This small pause is useful when belongings, building materials, and tools are mixed together. It can prevent a keepsake, appliance, or repair component from being discarded by mistake.
How can you build a room-by-room removal list?
A practical list turns a broad cleanup into small decisions that can be checked off. Use one page, spreadsheet, or shared note for the job. Start with the room name, then record the approved items or material groups, items to retain, items awaiting a decision, and any access constraint. Write descriptions that a helper who has not been in the room can understand. “Wet stuff” is not a useful disposal instruction; “approved damaged shelving beside the laundry door” is clearer.
Keep the list focused on logistics rather than trying to make a technical assessment. If you do not know whether an item belongs in a particular group, mark it “ask” and leave it undisturbed until the qualified person answers. Add the date and the source of any updated instruction. This avoids a stale note being treated as current after the plan changes.
For a multi-room project, identify which room must be cleared first for the next stage of work. That order may not match the order in which the damage occurred or the order that seems easiest to clean. Confirm the sequence with the person coordinating remediation or repairs. Then mark each room as not started, in progress, or checked. The status makes it easier to stop at a natural point without forgetting what remains.
Consider a simple example: the family room contains a large item approved for removal, several smaller items to keep, and loose debris approved for disposal. The list should identify each group and the holding location for the belongings to keep. A second room may have items awaiting review; that room should stay out of the loading sequence until the decision is clear. This separation helps people move faster without turning speed into guesswork.
How can you separate debris without slowing the work?
Make sorting easy to see and repeat. Label boxes or staging zones with plain descriptions such as “approved debris,” “keep,” and “decision needed.” Keep those zones distinct, not merely different corners of one pile. If a label is ambiguous, clarify it before anything is carried outside.
For a multi-room job, use a checklist with one line per room. Note the planned order, what is approved for disposal, and what still needs review. Update it when a professional gives new direction. A short written record helps household members and helpers work from the same information rather than making separate assumptions.
Sort by handling and loading needs only after the disposal decision is settled. For example, keep a large approved item accessible so it can be moved before smaller debris blocks the route. Keep loose approved materials contained in a way that suits the material and follows professional instructions. Do not compact, break apart, or combine materials unless the appropriate professional and rental provider have confirmed that approach is suitable.
Ask the dumpster provider about acceptance before loading anything unusual. The available company information does not establish a universal list of accepted water-damaged materials, and a rental should not be treated as permission to dispose of every material. Describe what you expect to discard and get clear instructions for anything uncertain.
How do you map the route from the room to the container?
Walk the proposed route before removal begins. Trace it from the affected room through halls and doorways to the outside staging point and the container. Look for tight turns, thresholds, stairs, doors that swing into the path, floor coverings, parked vehicles, and areas being kept clean or reserved for repair work. Choose a route that fits the professional plan and avoids unnecessary crossings.
Then prepare the route without creating new obstacles. Move loose objects that can be moved safely, keep doors and gates usable, and identify who will guide bulky pieces through narrow spots. If the route passes through a shared area or near other household activity, decide when that passage will be used and keep it clear at those times.
- Keep exits, stairs, and access to work areas unobstructed.
- Choose a staging point that does not block a doorway, vehicle, or repair crew.
- Keep children and pets away from active carrying and loading areas.
- Use helpers only for tasks they can perform safely and within the professional plan.
- Stop if the route, material, or conditions raise a safety question; ask the qualified professional rather than improvising.
A route plan should include the return trip too. Helpers may need to carry tools, empty containers, or belongings back into the home. If the only available path is also needed for repair work, coordinate a loading window rather than leaving debris staged there all day. This is especially helpful when the cleanup happens in several short sessions instead of one continuous work period.
Where should the dumpster sit?
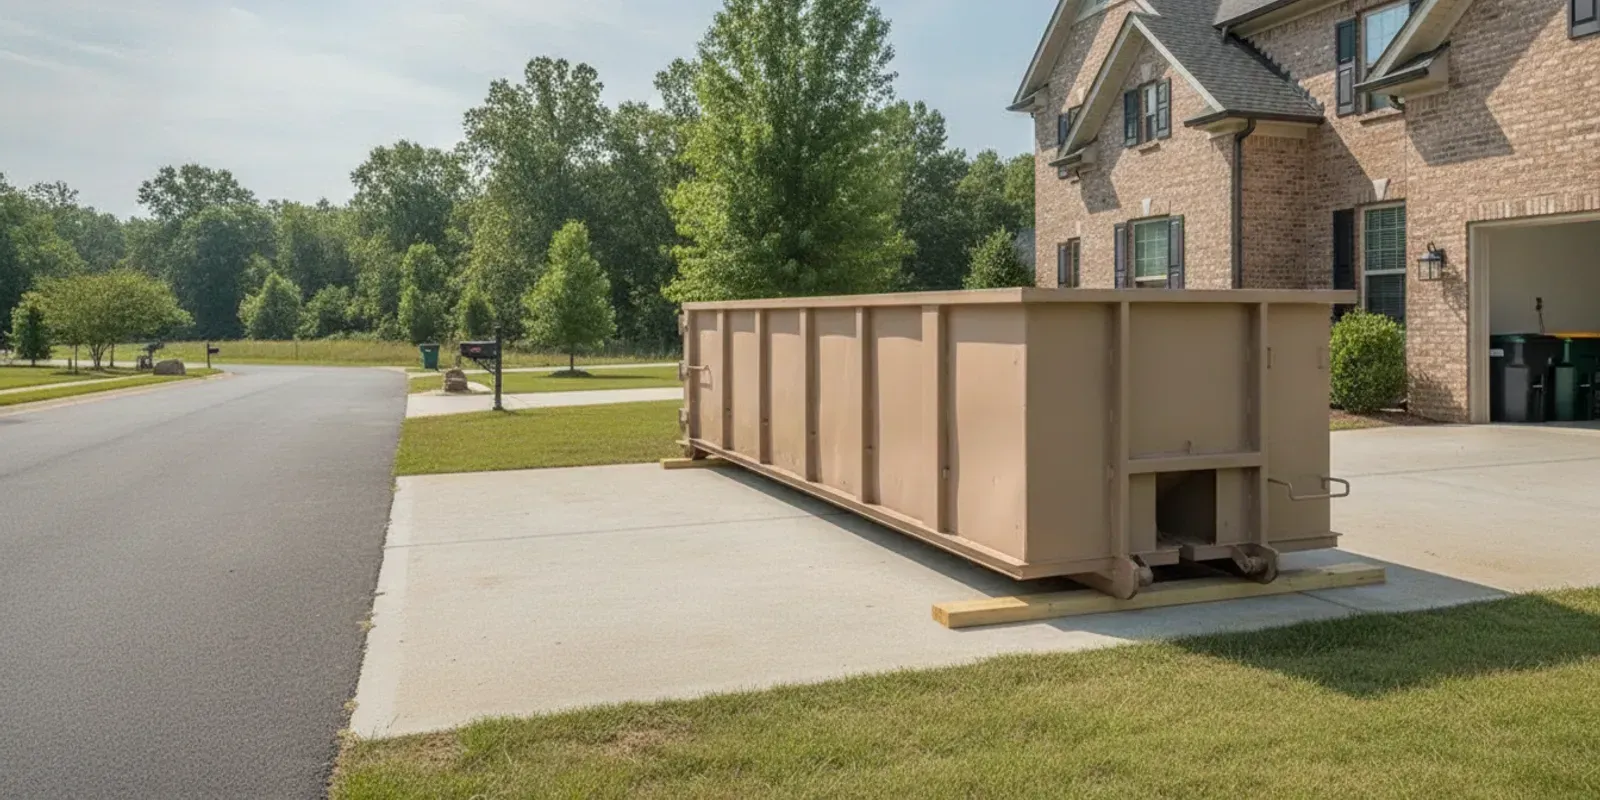
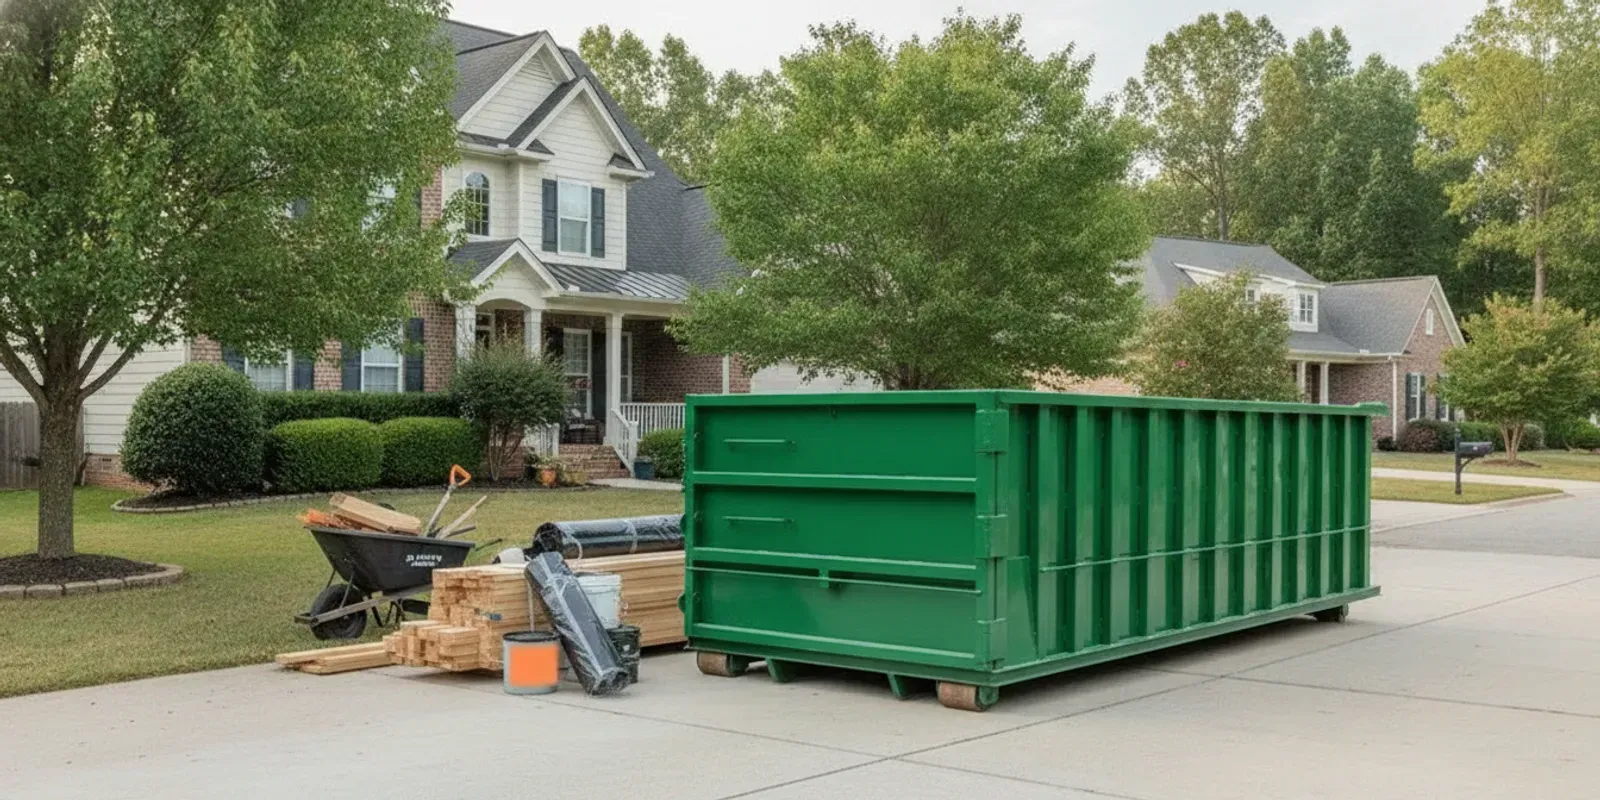
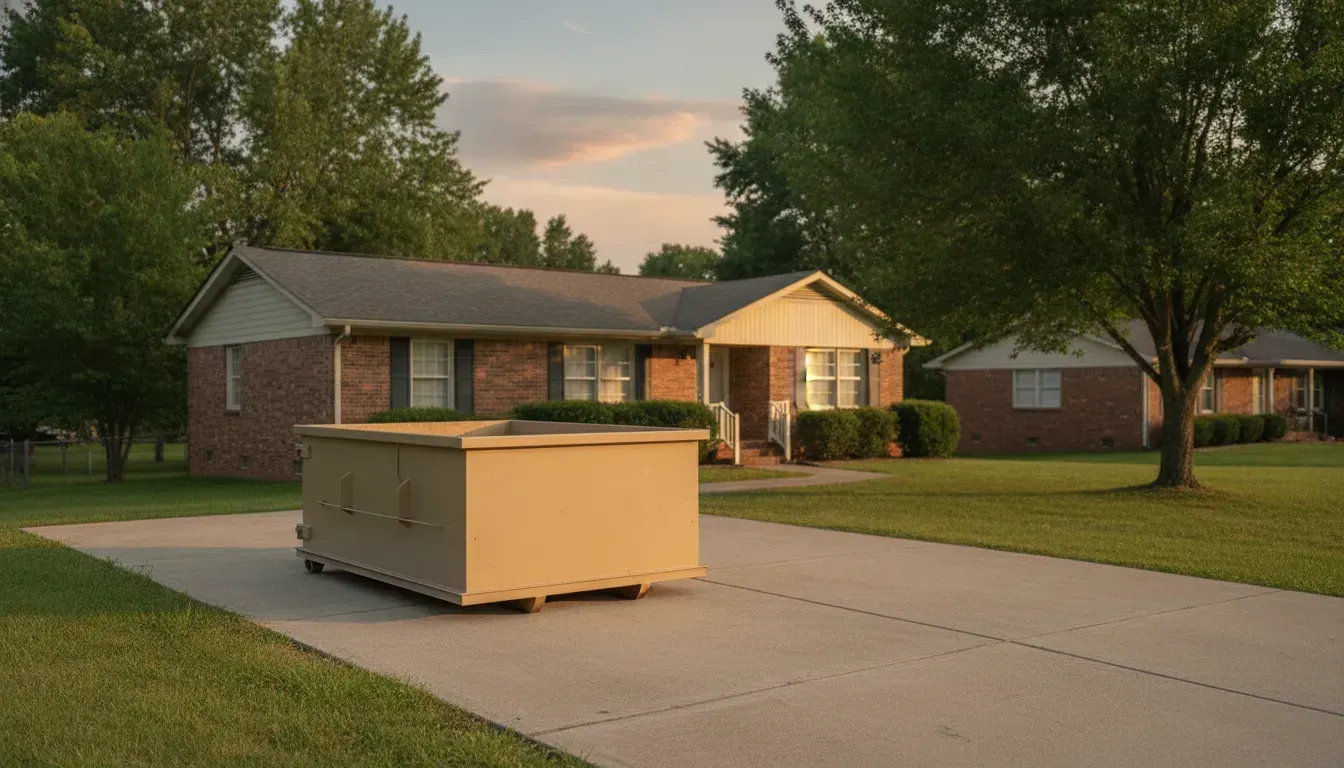
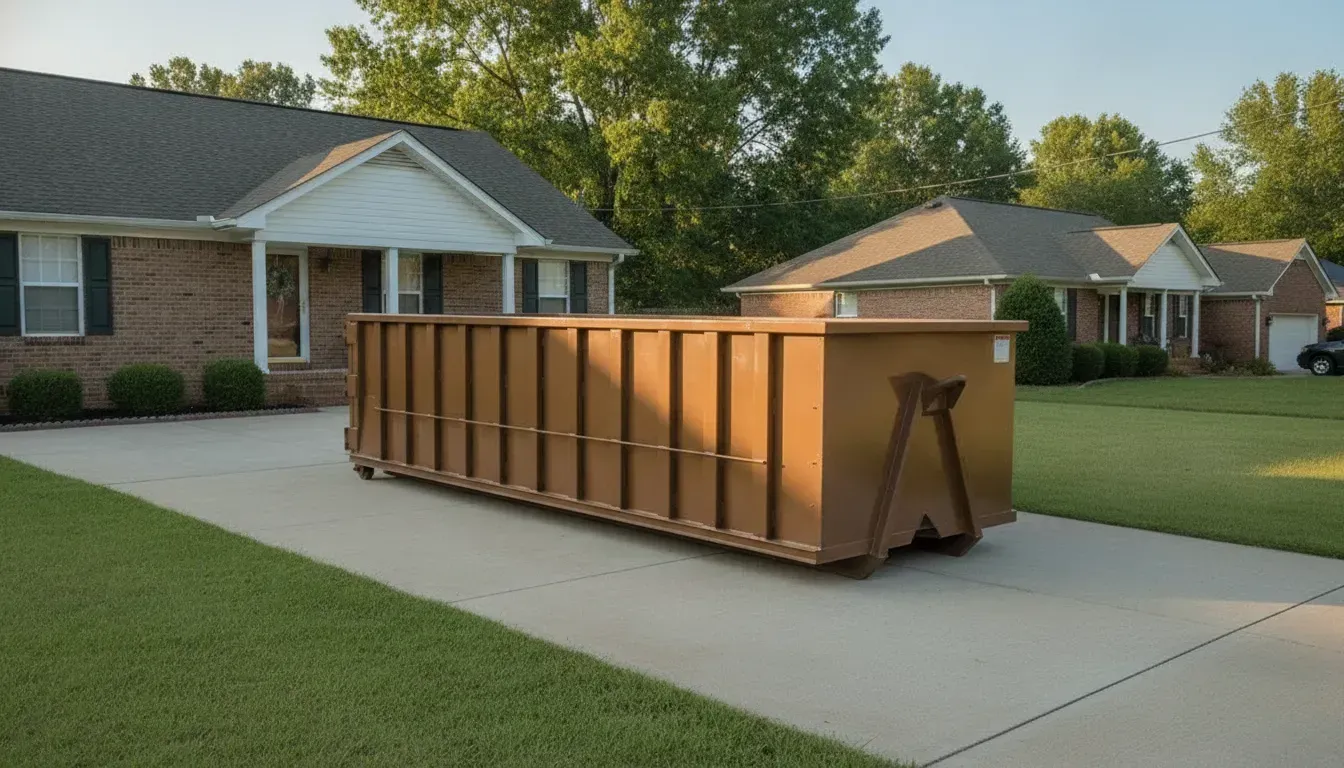
The placement area needs to work for the delivery vehicle and for the people moving debris. A driveway may be convenient, but suitability depends on the property, access, surface, slope, overhead clearance, and the vehicle’s approach. Check for low branches, narrow turns, gates, parked cars, landscaping, and any feature that could interfere with delivery or loading.
Before delivery, explain the intended location and surface to the provider. Rapid Removal Dumpster describes driveway-conscious placement and can provide protective planks when necessary. That is a placement practice, not a guarantee against surface damage. Consider the surface condition and slope, clear the proposed spot, and ask what the driver needs to know before arrival.
Think about the path between the home and the bin as well as the parking footprint. Is there enough room to move approved debris without crossing a vehicle’s path? Can doors and gates open? Will the container interfere with a neighbor’s access, a shared drive, or scheduled repair work? If there is an HOA or shared property rule, check it before delivery. For a public right-of-way or shared area, confirm what permission is needed rather than assuming the spot is available.
If you are unsure whether the container can be placed as planned, describe the constraints when requesting service. Photos or clear measurements may help explain a tight approach, but confirm with the provider what information is useful. Review the company’s driveway placement information as a starting point, then discuss your specific property.
How should you match dumpster size to the cleanup?
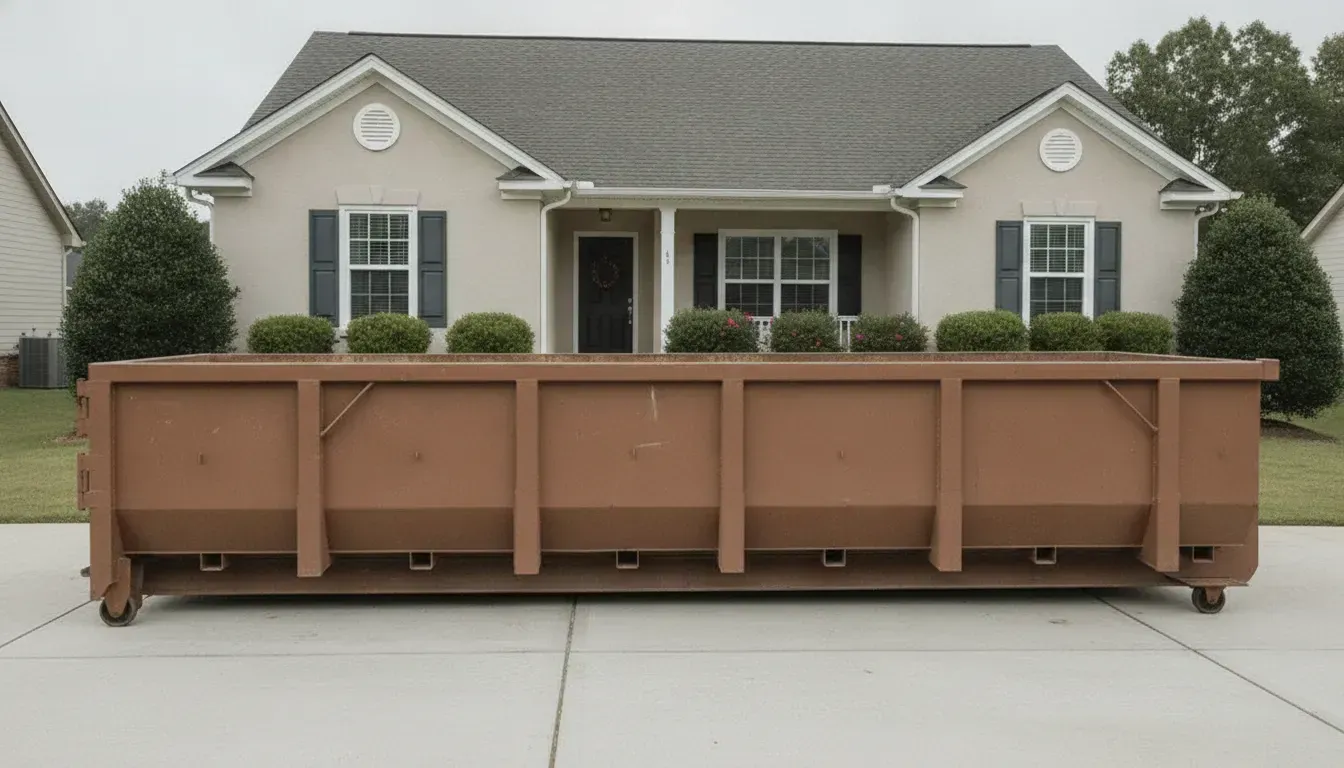
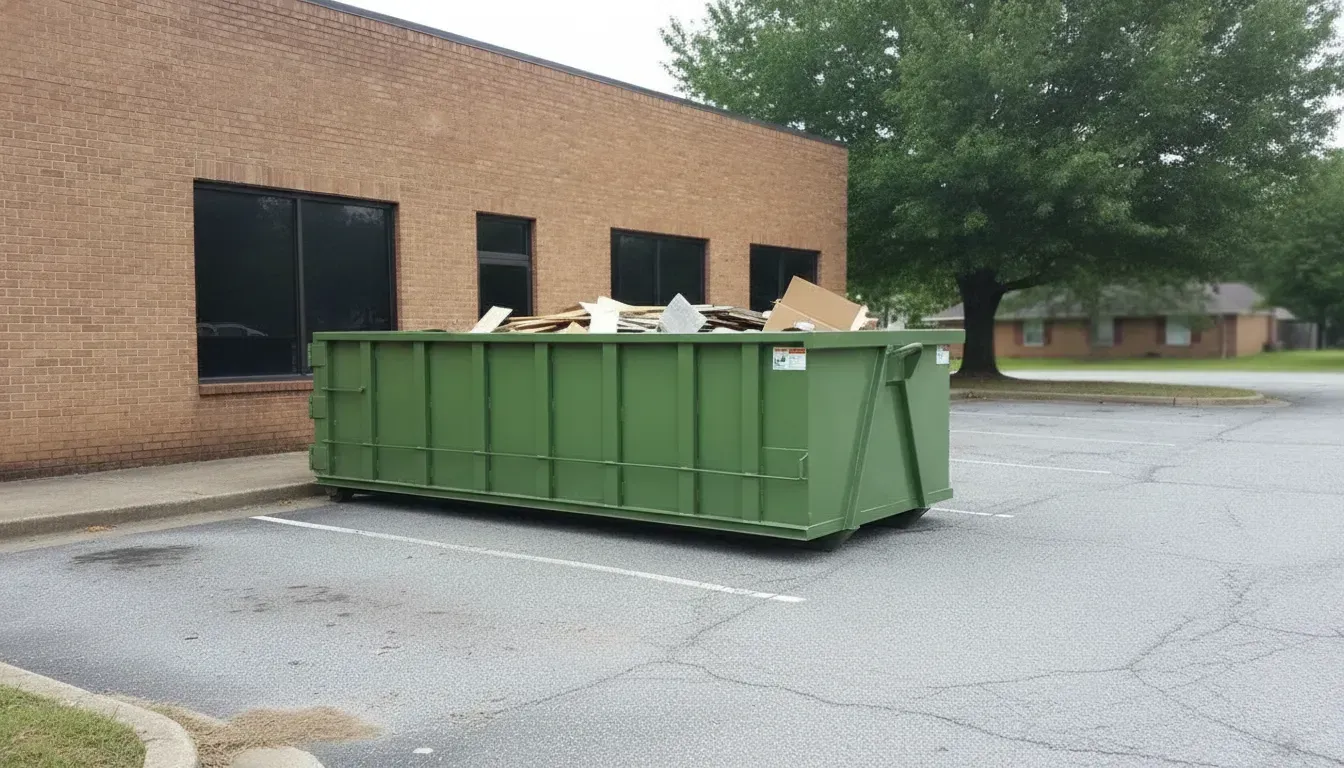
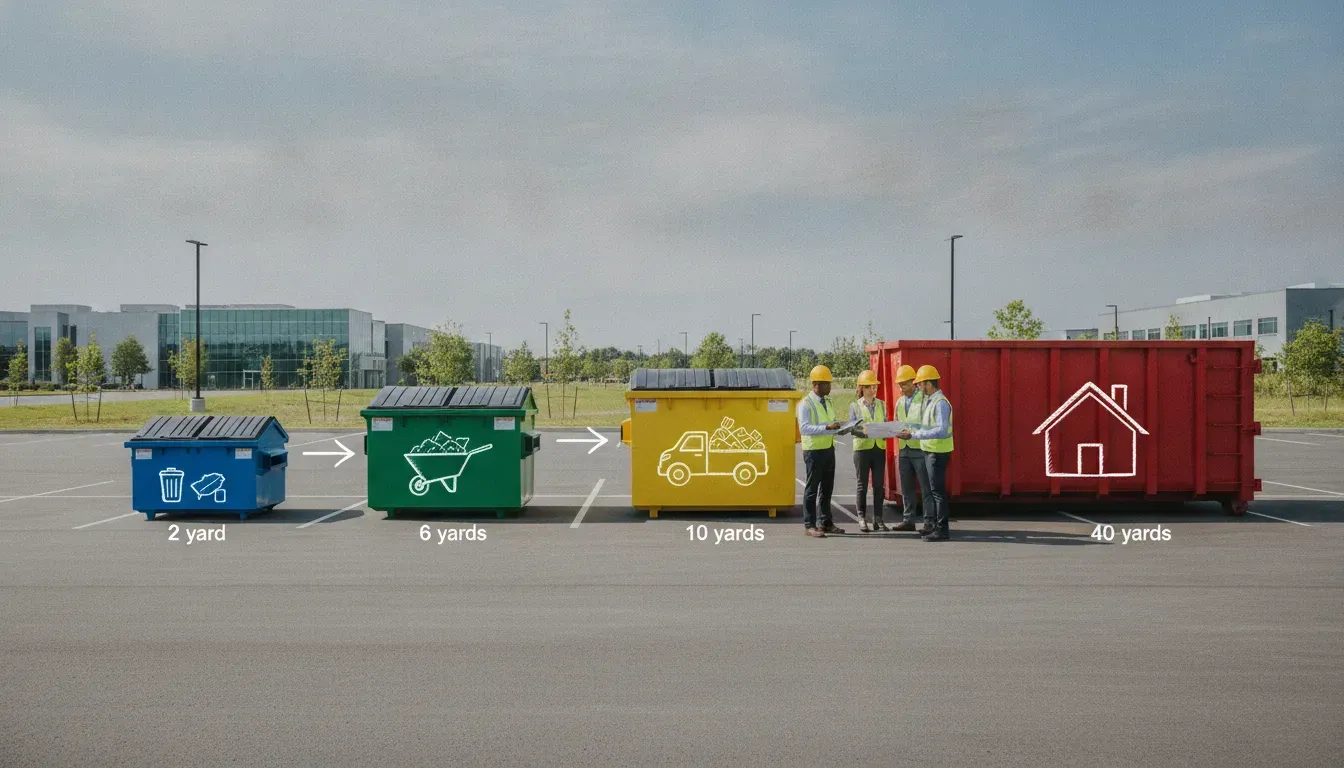
Rapid Removal Dumpster offers a 15-yard roll-off. The listed dimensions are about 5 feet high, 14 feet long, and 7.5 feet wide. The company describes this size as an option for smaller renovation, home, landscaping, move, and cleanout projects. Whether it suits a water-damage cleanup depends on the actual volume, shape, and weight of the approved debris, not simply on how many rooms are involved.
Start with a rough inventory rather than a guess based on floor area. List large pieces separately, then estimate the amount of smaller approved debris. Note whether the project involves furnishings, flooring, cabinets, drywall, or mixed household contents. These are examples to discuss, not a confirmation that every material is accepted. Ask about material rules and any loading limits before booking.
For a practical comparison, consider two hypothetical jobs. One room may contain a few bulky items and a modest amount of approved debris; another may involve several rooms with mixed materials and ongoing repairs. The first may be simpler to estimate, while the second needs a careful inventory and possibly staged removal. Neither example establishes that a particular project will fit: the provider needs details about the actual contents and applicable limits.
Keep the shape of the debris in mind. Long or awkward pieces may use space differently from smaller loose items, and heavy materials can raise loading concerns even when the container does not look full. Follow the provider’s directions for distributing materials and do not overload the container. If your inventory changes, update the provider before loading the additional material.
How long should you allow for the rental?
Set the rental window around the work sequence, not just the apparent amount of debris. A focused removal with decisions already made may fit a short period. A multi-room project involving professional visits, repair access, household schedules, or several loading sessions may need more coordination. Do not hurry a safety or remediation decision to meet a pickup date.
Rapid Removal Dumpster publishes prices for its 15-yard dumpster of $349 for one day, $375 for three days, and $399 for seven days, with no delivery fee stated on its site. Confirm current availability, what the rate includes, pickup timing, and any project-specific terms before arranging service. These published durations help frame a schedule, but they do not determine which option is right for your cleanup.
To estimate your window, write down the earliest date approved debris will be ready, the likely number of loading sessions, and any days when the route or work area will be unavailable. Add time for coordination, not for delaying professional work. If a contractor or remediation professional must control access, check their schedule before selecting delivery and pickup dates.
A simple example: if an inspection and removal decisions are complete, but the household can load only after work hours, identify how many sessions are realistic before choosing a period. If the job includes a repair visit between sessions, ask whether the container can remain in the planned spot without blocking that work. Then confirm the exact rental terms instead of relying on assumptions about extensions or pickup.
What should you confirm before requesting service?
Have the service address, preferred delivery date, planned placement area, and likely rental duration ready. Describe the debris in ordinary, specific terms and mention any unusual material or access limitation. This gives the provider useful information to discuss suitability and delivery rather than requiring a second conversation to discover basic constraints.
- Is the address within the current delivery area?
- Can the truck reach and place the container at the intended location?
- What specific materials are acceptable, and are there loading instructions?
- Which rental duration aligns with when approved debris will be ready?
- What pickup timing and price conditions should be clear before confirming?
- Is there a placement concern, such as slope, overhead clearance, or shared access, that needs advance discussion?
The request form indicates that a representative responds by the next business day, while same-day options are advertised separately. A web form is not an instant delivery guarantee. If timing is urgent, call to discuss availability. You can also review the company’s dumpster rental FAQs for general questions, then verify the details for your specific job.
What does a coordinated cleanup sequence look like?
A clear sequence keeps debris decisions, delivery, and loading connected without taking over the professional’s role.
- Complete the assessment and removal decisions. Follow qualified guidance about what to document, retain, or remove.
- Make a room-by-room list. Mark approved discard items, belongings to keep, and anything still under review.
- Describe the job to the provider. Discuss materials, approximate volume, access, placement, and timing before selecting a rental window.
- Prepare the exterior area. Clear the planned approach and placement spot, and confirm any property rules.
- Set up a controlled route. Choose a staging point and keep exits and work zones available.
- Load approved debris in a workable order. Keep larger pieces accessible, follow loading directions, and ask before adding anything unusual.
- Review before pickup. Check the rooms and staging area against the list, make sure belongings and tools are not mixed into the debris, and confirm pickup arrangements.
Use the sequence as a planning aid, not a reason to continue if conditions change. If new damage appears, a material becomes uncertain, or the professional plan is revised, pause and obtain direction before moving more items.
How can you coordinate the cleanup with repairs and household routines?
Water-damage work often shares space with daily life and repair activity. Decide which rooms, entrances, and utilities the household can use during debris removal, and tell helpers about any restrictions. If the home is occupied, plan loading periods around essential access rather than letting a pile gradually narrow a hallway. Make sure residents know which belongings are not to be moved.
Coordinate the container’s delivery and pickup with the people responsible for assessment, remediation, or repairs. They may need the driveway, a side entrance, or a clear work zone. Confirm that the container will not block their planned access, and do not move materials out of an area simply to make room if the professional has not cleared them for removal.
For a project with multiple stages, use a short status note: what has been approved, what has already left the home, what remains undecided, and when the next professional visit is expected. Keep the note where household members and helpers can check it. This reduces repeated conversations and makes it easier to stop work when the plan changes.
Consider noise, parking, and neighbor access as practical scheduling issues. Let anyone sharing the driveway or access route know when the container is expected, if appropriate. Keep the route to the bin open during loading, and restore ordinary access when work is paused. This matters even when the container itself occupies only part of the property.
How can you keep the loading area organized between work sessions?
Not every cleanup can be completed in one stretch. Household schedules, repair visits, or the availability of approved materials may divide loading into separate sessions. Decide in advance where materials can wait and how to keep that staging point from taking over a doorway, driveway, or required work area. If there is no suitable staging area, ask the professional coordinating the job how to sequence removal instead of creating a pile in a convenient but unsuitable spot.
At the end of each session, take a few minutes to reset the route. Put away tools that are not part of the next task, keep the keep and undecided areas separate, and update the checklist to show what has moved. A simple note such as “family room approved items removed; one box remains for review” is more useful than relying on a verbal handoff. This is particularly important when different household members help on different days.
Before a pause, check that the container and the path to it remain usable, and that the next session will not begin with someone moving a pile twice. Do not leave items in a location that interferes with professional access or ordinary entry and exit. If the work area or instructions change while you are away, review the plan again before restarting.
How can you plan the order of loading?
Think about loading as a sequence that must protect access and reflect the accepted materials, rather than as a contest to fill the container quickly. Large confirmed items may be easiest to move while the route is clear. Smaller approved debris can follow, but only if it is allowed and can be loaded according to the provider’s directions. Keep any items awaiting a decision out of the sequence entirely.
Before the first trip outside, identify who will check the item against the list, who will guide the path, and who will manage the loading area. On a small job, one person may handle more than one role, but the check still matters. If several people are carrying things, designate one person to answer questions about the room list rather than allowing each helper to make a separate call about what should be discarded.
Use the opening of the container and the available approach as practical constraints. Avoid making a mound beside the bin that blocks the next trip. Maintain room to carry items without forcing people to step around loose debris. If an object is too awkward for the planned route or the household helpers, stop and get appropriate assistance rather than attempting a rushed move.
There is also value in preserving a final review step. Before an item goes into the roll-off, pause for a quick check that it is approved, the provider has confirmed its acceptance when necessary, and it is not mixed with something that must be kept. A few seconds per uncertain item can save a much larger problem later.
What common planning mistakes can cause delays?
Many avoidable delays happen before the first item reaches the container. A little planning can help keep the cleanup orderly:
- Booking before the debris is identified: Make a preliminary inventory and ask about specific materials rather than assuming acceptance.
- Choosing a spot without checking vehicle access: Consider turning space, clearance, gates, and the approach—not just the surface where the bin would sit.
- Leaving the keep pile beside the discard pile: Create distinct marked zones to prevent mix-ups.
- Blocking the only route to a repair area: Agree on staging and loading windows that preserve professional access.
- Underestimating loading time: Account for household availability and multiple sessions, not only the quantity of debris.
- Assuming a rental includes labor: The documented service is a customer-loaded roll-off. Plan for you or your helpers to load it, and arrange any in-home labor separately.
- Assuming a published rate answers every cost question: Confirm the rental period, pickup timing, included terms, and project-specific conditions before committing.
If a plan depends on a particular material being accepted, placement being available, or a date being possible, treat that as an open question until the provider confirms it. A short call or written inquiry before delivery is easier to resolve than a problem discovered at the curb.
How can different cleanup situations change the plan?
The same container and removal principles can apply to different parts of a home, but the logistics may change. Treat these as planning examples, not as a determination that any material is safe to remove or accepted for disposal. In each case, the professional plan and the provider’s material instructions come first.
A single room with a few large approved items
For a contained room, list the bulky items separately and measure the tightest doorway or turn along the route if size may be a problem. Confirm that the pieces are approved for removal before arranging the loading order. Keep the items that will stay in the room or move elsewhere clearly apart. A smaller scope can be easier to schedule, but large objects may still require coordination and enough clearance for the carrying path.
Several rooms with mixed contents
For a broader project, do not combine the contents into one unsorted pile. Track each room separately and prioritize the spaces needed for the next repair or work visit. Give the provider a realistic inventory of the expected material groups and volume. If new rooms or items are added after booking, check whether the rental arrangement and material acceptance still fit before loading them.
A cleanup that overlaps with a move or household reset
When a household is also packing, identify the belongings that are moving with the family and mark them before removal starts. Moving boxes and approved debris should not share a staging zone. Choose a route that does not block access to packed belongings, a moving vehicle, or a repair crew. The written list should make it clear which activity has priority when a space is needed by both tasks.
A job that must pause for follow-up work
If a professional visit or repair stage interrupts loading, ask when access is needed and whether the container’s planned location remains suitable during the pause. Reconfirm your rental window against the revised schedule. Do not try to clear a room earlier than approved just to keep the original calendar. A changed schedule is a reason to check arrangements, not to bypass the established cleanup plan.
How should you compare the published rental periods?
The one-, three-, and seven-day options are different scheduling choices, not a promise that a cleanup will take a particular number of days. Compare them against when approved debris will be ready, how many people can help, and whether access will be interrupted. Rapid Removal Dumpster publishes $349 for one day, $375 for three days, and $399 for seven days for its 15-yard dumpster. The site also states there is no delivery fee. Confirm the current terms, availability, and what is included before you make a decision.
A short rental period may be worth discussing when the inventory is settled, the route is prepared, and a focused loading session is realistic. A longer period may better match a household that can work in several sessions or has a known pause for repair coordination. The difference is not only the calendar price: a tight deadline can create pressure to rush decisions, while a longer period may be unnecessary for a well-prepared, limited scope. Base the choice on the actual schedule and confirm the details with the provider.
Use a simple planning exercise. Write down the day the approved materials will first be available, each time window when loading can happen, and any known professional visit that takes the route or placement area out of use. If those windows are uncertain, ask about options before booking. Do not assume pickup can be moved or an extra day added without confirming the terms.
Frequently asked questions
Should I remove water-damaged materials before an inspection?
This planning guide starts after safety and inspection decisions have been made. Follow the inspector or remediation professional’s instructions about what to document, keep, or remove; do not use a dumpster plan as a substitute for that guidance.
Can every water-damaged item go in the roll-off?
No. Do not assume that every material is accepted. Describe the specific items to the provider and ask before loading; seek qualified guidance for materials that raise health or safety concerns.
Does a dumpster rental include workers to carry debris out?
The documented service is a customer-loaded 15-yard roll-off rental. Plan for you or your helpers to load approved items, and arrange any in-home labor separately if needed.
Can the container be placed on my driveway?
That depends on access and site conditions. Discuss the intended location and surface in advance. Protective planks may be provided when necessary, but this is not a guarantee against surface damage.
How do I choose between one, three, and seven days?
Estimate when approved debris will be ready and how many loading sessions are realistic. Compare that schedule with the published rental periods, then confirm availability and terms with the provider.
Request service for your water-damage cleanup
Once professional decisions are clear, a marked debris list, an unobstructed route, and a confirmed placement plan can make removal easier to manage. Request service with your material, access, and timing details ready.